INSTALLATION GUIDE
- Tools for dissambly of motorcycle pieces
- Terminals or connector to make the electrical connection
- Terminal crimper
- Additional recommendation: double-sided tape or cable ties to reinforce the fastening and heat-shrink sleeve in case of cutting cables.
KEEP YOUR STICKER
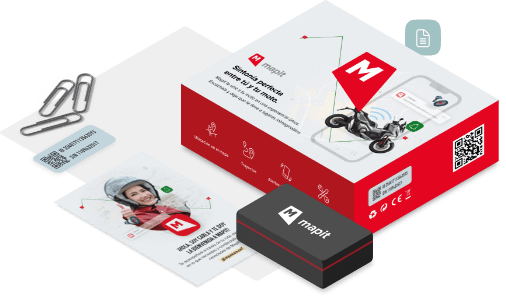
In the box, you will find your new Mapit device, a brief guide, two attachment stickers and a numbered sticker. This sticker is used to identify your device and perform the registration, so it should be kept somewhere safe. We recommend that you attach it to the documentation of your motorcycle, for example.
DECIDE THE LOCATION
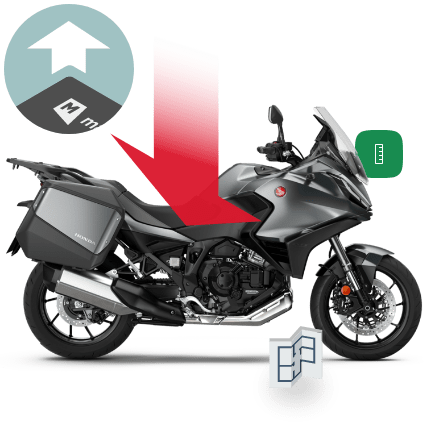
Find a place to install your Mapit, taking into account:
- It must be hidden and difficult to access (inside the fairing or other place where access needs to be disassembled).
- Place the label facing upwards
- Find a place as well ventilated as possible
- Keep it away from heat sources to avoid overheating (engine, motorcycle battery, radiator, exhaust pipe…).
- Avoid pinched wires, which may cause insufficient current to reach the device.
- Look for a location that protects the device from water.
- Try to avoid metal parts covering the device (affects GPS coverage).
- Place it more than 22 cm from the driver’s body.
HOLD YOUR MAPIT
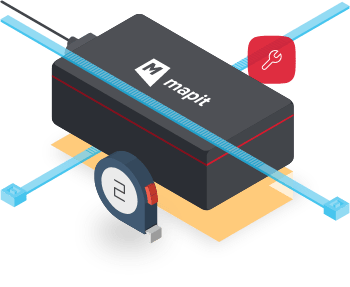
Once the location has been decided, use the double-sided adhesives to attach the Mapit device to a fixed area, ensuring that it does not come off or move when using the bike. If necessary, reinforce the installation with cable ties or double-sided tape.
CONNECT THE DEVICE
Follow the installation instructions below according to your device model (noted on your device):
It is not necessary to charge the Mapit on an external battery before connecting it to the motorcycle (the device is already charged).
CONNECT YOUR DEVICE
On Honda motorcycles, the connection point is the DLC connector. If this connector is not available, locate a connection point to the position light circuit or post key circuit.
*On the M304 model, make sure that the cable is correctly attached to the device, as it is designed to be waterproof (IP67).
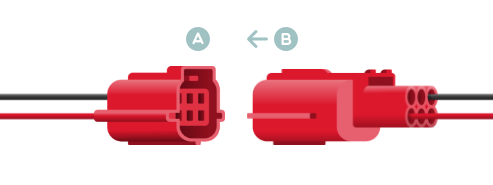
Once located, strip the wire and splice it to the 4 or 6 pin connector. Connect the red wire to 12V positive and the black wire to ground.
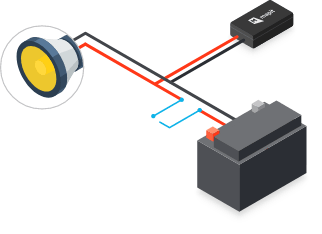
Position light circuit o Post-key circuit
Do not connect directly to the battery so as not to affect the battery or the device.
CHECK THE INSTALLATION
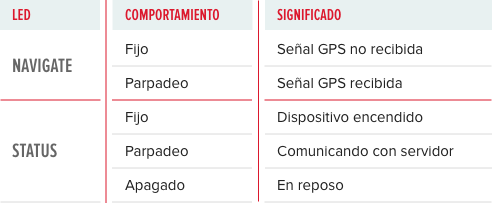
After connecting the device and moving it slightly the LEDS will light up. The following table shows their behavior.
Once installed, make sure that the two side LEDS light up.
The STATUS LED should flash shortly after connection. When it detects motion it will turn on.
The NAVIGATE LED can be shown on steady on indoors, switching to flashing once GPS coverage is received outdoors.

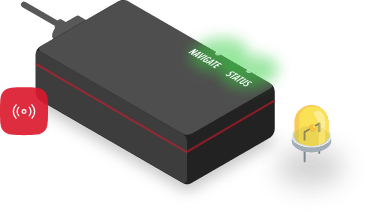
If the LEDS do not light up it may indicate a fault in the connection, it is recommended to check it.
ACTIVATE YOUR MAPIT ACCOUNT
Finally, once you have installed your Mapit device, you will have to register it through the app. Download the Mapit.me app via Google Play or App Store on your phone, and enter the 15-digit code from the label. Remember to activate notifications to receive all alerts on your cell phone.


FIRST TRIP
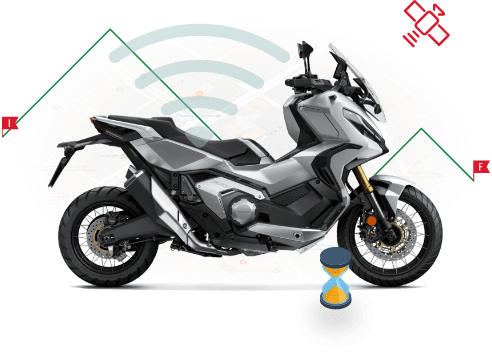
Congratulations, you are all set! To start receiving signal, you will need to perform an outdoor ride of at least 15 minutes to see the location of your bike on the map.
You can now enjoy being in control of your motorcycle!
The following indications serve to avoid reducing the life cycle of the device, as well as, risks of damage to the device, fire, chemical burns, electrolyte leakage and injury:
- Do not expose to heat sources or places with high temperatures. The temperature range for the correct operation of the device is between 0º and 45º.
- Do not disassemble, modify, recondition, puncture or damage the device or battery.
- Do not immerse or wet the device with water or any other type of liquid. The locator has highly complex technological components and is therefore incompatible with these elements.
- Avoid specifying the exact location of the device to prevent theft.
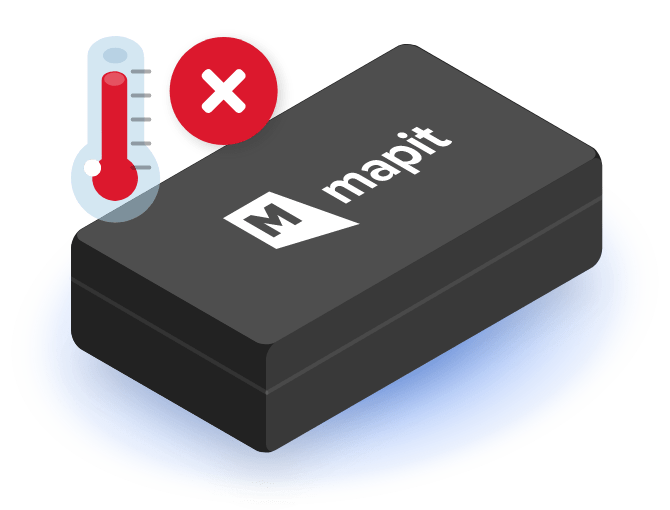
AVOID HIGH TEMPERATURES
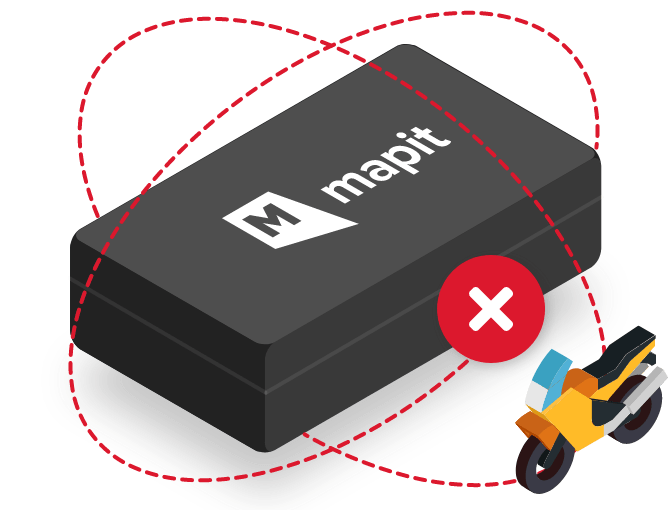
135º METAL-FREE ZONE
– GSM/GPRS technology
– Quad-band modem (GSM 850 / 900 / 1800 / 1900 MHz)
– GNSS positioning
– Multi constellation GPS / GLONASS / GALILEO
– IP67 waterproof certification (model M304)
Internal battery:
– Li-Ion 3.7V 1200mAh (up to 30 days of autonomy)
Food:
– 12V external power supply (power range 6-30VDC)
Sensors:
– Accelerometer
Mechanical design:
– ABS plastic
– Dimensions: 79 x 43 x 27 mm
– Approximated weight: 60 g